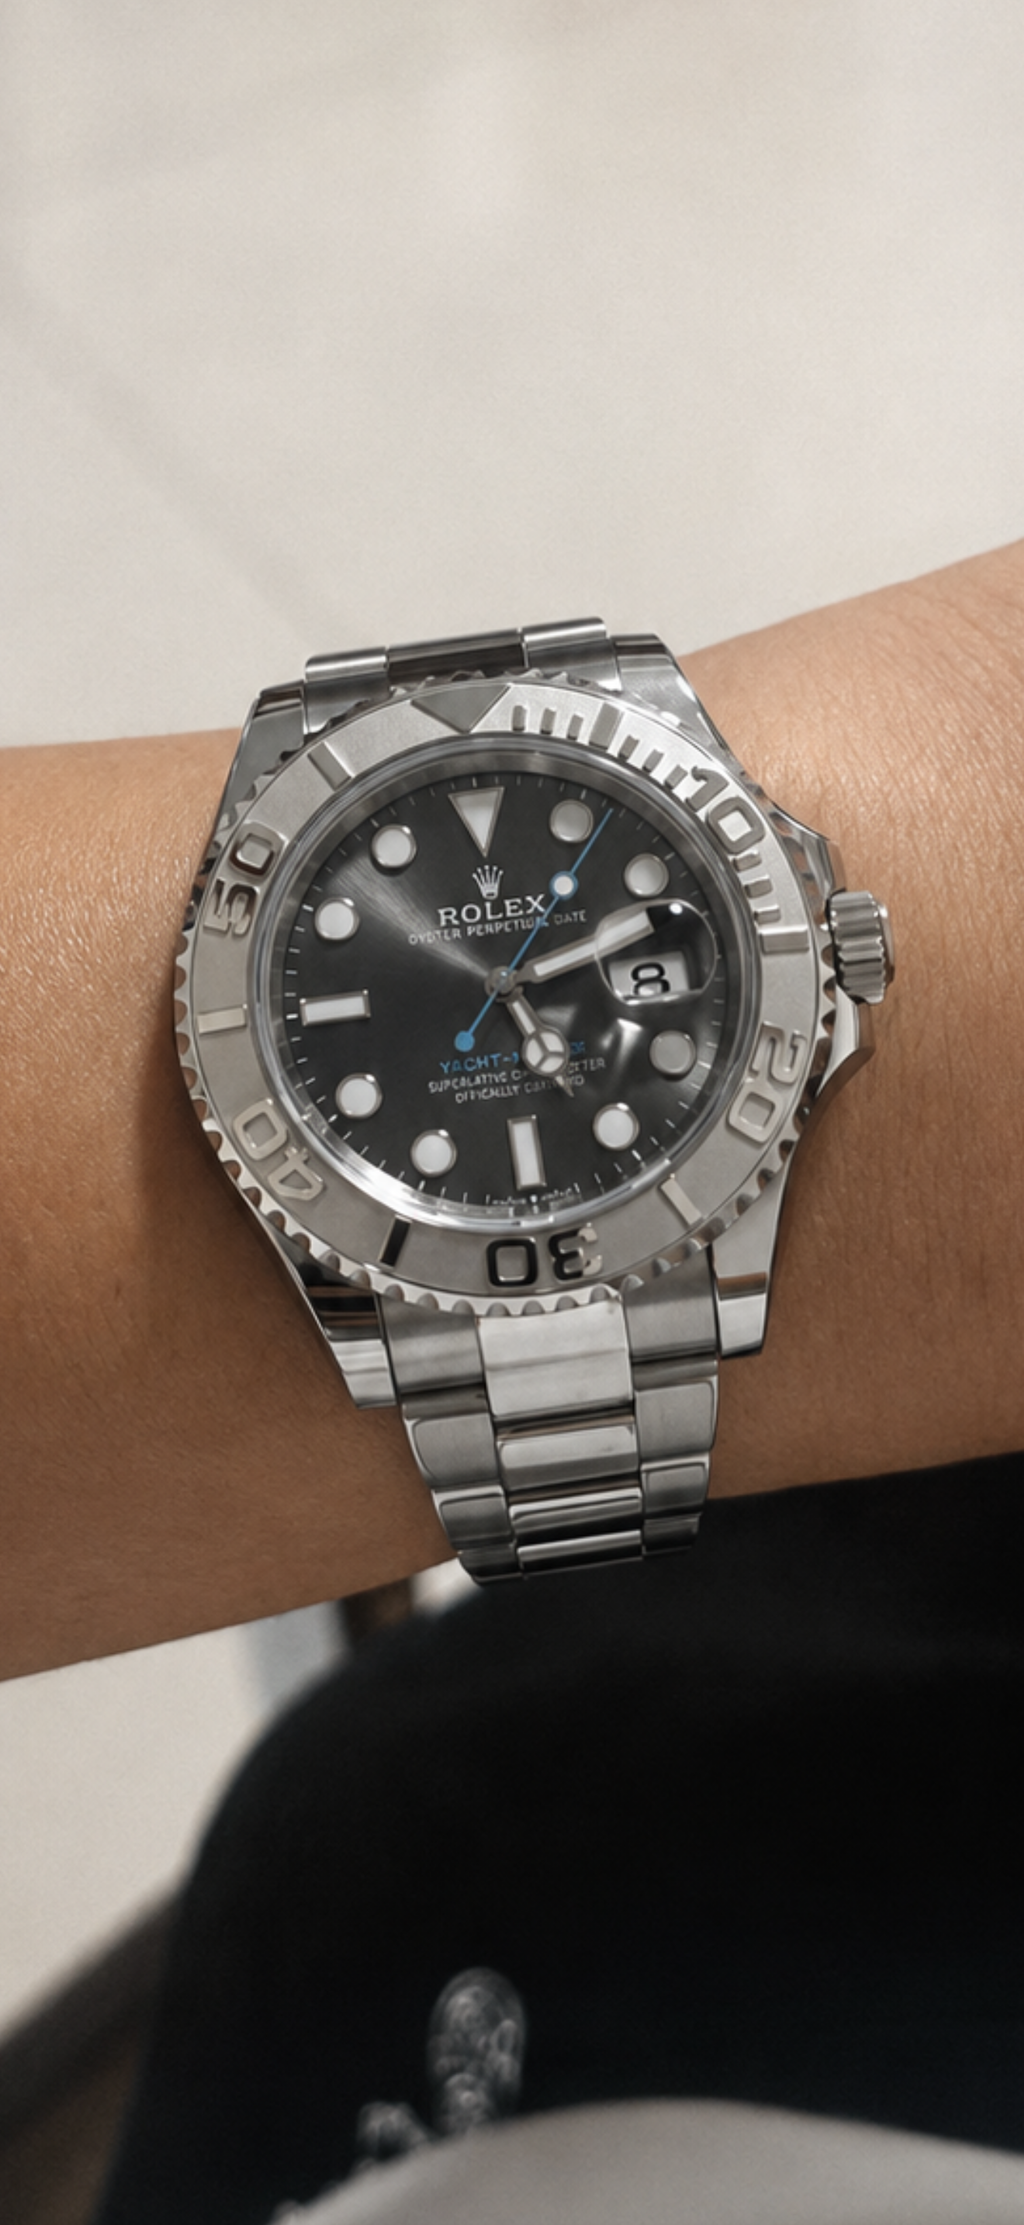
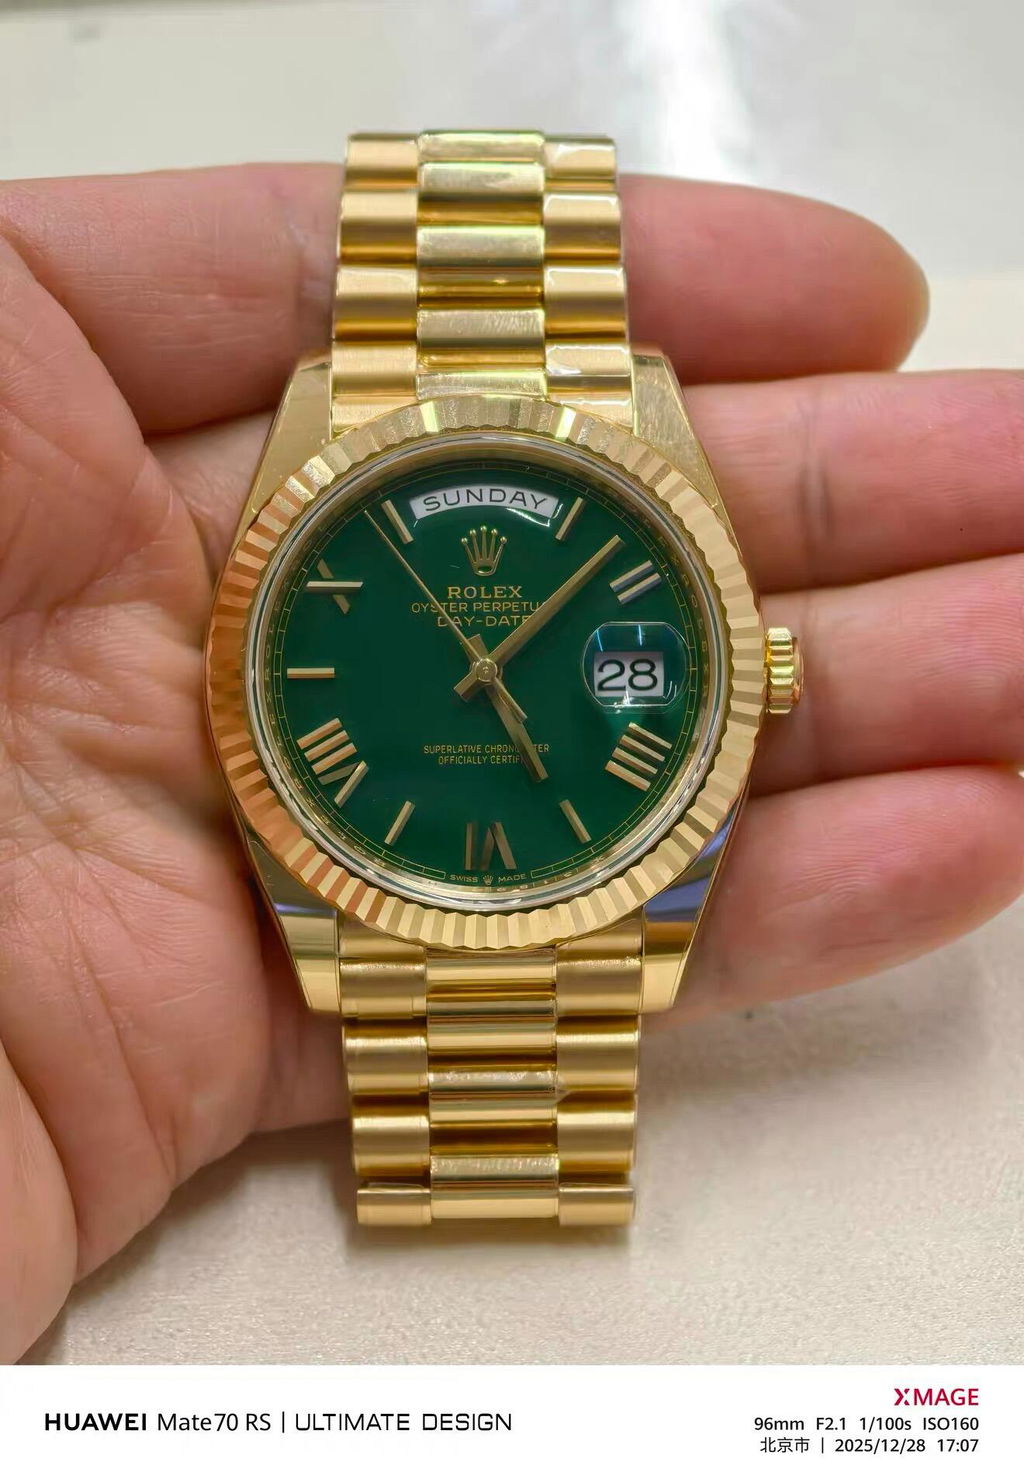
Receiving your PreserveLayer™ kit is often when a very concrete question comes up: how can you be sure not to botch the application on a watch that is sometimes worth several thousand euros?
It is a legitimate concern. Applying protection yourself to a clasp or a polished case takes method, not watchmaking expertise.
This guide walks through each step, in order, for a clean application on the first try.
KEY POINTS
• Applying PreserveLayer™ usually takes between 15 and 30 minutes.
• No professional tools are needed: everything is included in the kit.
• A clean surface and a dust-free environment account for 80% of the result.
• Each piece is custom-cut for your exact reference: it only fits in one position.
• If the application goes wrong, the 14-day zero-stress guarantee replaces the film free of charge.
• You can practise on a less visible area before tackling an exposed surface.
WHAT THE KIT CONTAINS
Before you start, it is worth checking the contents:
• the PreserveLayer™ pieces, specific to your reference;
• a soft application squeegee;
• a degreasing prep wipe;
• a dry microfibre cloth;
• illustrated instructions specific to your model.
Each piece is labelled for a specific area (clasp, case sides, lugs). Not mixing them up avoids unpleasant surprises.
STEP 1 — PREPARE THE SURFACE
The most common cause of a failed application is not clumsiness: it is a poorly prepared surface.
- Clean the area with the wipe provided.
- Dry it with the microfibre cloth, without rubbing hard.
- Check for greasy marks (cream, perfume, sweat) by tilting the watch under raking light.
A single speck of dust is enough to create a bubble under the film. Better to spend two extra minutes here than to redo the application afterwards.
STEP 2 — WORK IN THE RIGHT ENVIRONMENT
Avoid dusty rooms (next to a freshly made bed, a rug you have just shaken out) and draughts.
Avoid a bathroom right after a shower: ambient humidity can weaken the initial adhesion.
A clear table, direct light and a little patience are all you need.
STEP 3 — POSITION WITHOUT STICKING
PreserveLayer™ allows a little repositioning before final pressure. This gives you time to adjust the alignment.
• Bring the piece close to the target area without pressing.
• Line up the edges with the watch's natural reference points (clasp edge, link junction, lug edge).
• Check the alignment under two different light angles before pressing.
STEP 4 — SMOOTH FROM THE CENTRE OUTWARDS
Once the alignment is right, use the squeegee to push the air out gradually, from the centre outwards, never going back.
Firm but even pressure, in several passes, gives a better result than a single hard press.
If a small bubble remains at the edge, it usually disappears within hours thanks to the film's flexibility.
STEP 5 — FINISHING AND SETTLING TIME
Gently wipe the edges with the dry microfibre cloth.
Avoid contact with water for the first few hours after application, while the adhesion fully settles.
THE MOST COMMON MISTAKES (AND HOW TO AVOID THEM)
Rushing. The application is not complicated, but it rewards patience. Rushing the alignment is the number one reason for redoing it.
Pressing before checking the alignment. Once smoothed down, a piece is harder to remove than to reposition. Always check visually before pressing.
Skipping the degreasing. A trace of moisturiser invisible to the naked eye can be enough to prevent adhesion.
Applying in a dusty room. A particle under the film will leave a small permanent bump.
WHAT IF YOU ARE UNSURE?
There are two options for readers who would rather not take even a small risk:
- Practise first. Some kits include a practice offcut to get used to the feel of the film before the final application.
- Use a partner application point. A network of partner watchmakers applies PreserveLayer™ for you, for a guaranteed result without handling it yourself. This service is explained in our dedicated article on application points.
THE ZERO-STRESS GUARANTEE
If, despite these precautions, you are not happy with the application, the 14-day zero-stress guarantee gives you a free replacement film, with no complicated justification required.
This guarantee exists precisely because applying the film is a new gesture for most owners. It is not an optional extra: it is part of the product.
FAQ
Do I need special tools? No. Everything you need is included in the kit: squeegee, wipe and microfibre cloth.
How long does the application take? Allow 15 to 30 minutes depending on the reference and the number of areas to cover.
Can the film be removed and repositioned? Before it is fully smoothed down, yes, to some extent. Once pressed firmly, it is better not to peel it off, to avoid damaging the piece.
What if the application goes wrong? The 14-day zero-stress guarantee covers a free replacement.